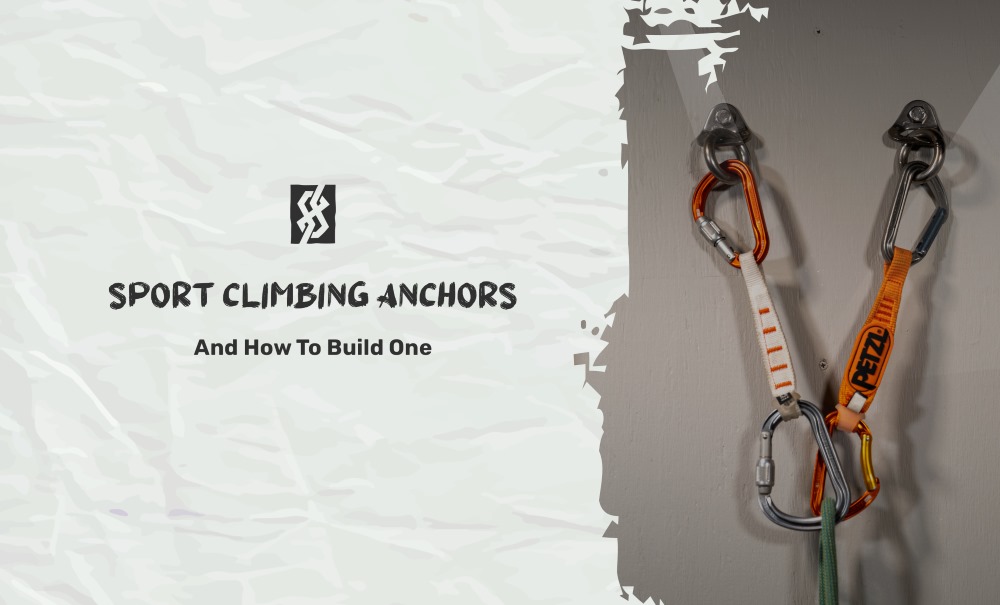
So, you’re finally ready to head out sport climbing! You’ve got a good rope, a rack of draws and a solid group of friends. Killer, it’s time to head out to the crag! But wait, do you have your anchor setup?
“Wait, what’s an anchor setup?”
Most people don’t think about the fact that outdoor climbing is inherently different from clipping bolts at the gym. Yes, you have to bring your own draws, but it’s more than that; you need to have a way of securing yourself and your rope at the end of a pitch.
Unfortunately, the basket hangers most gyms have these days are almost never seen out at the crag. At the crag, there are a number of different anchor types you will encounter and the prevailing etiquette is that you build an anchor using your own gear, similar to building a trad anchor, only the bolts and chains are already in the wall. Let’s explore some of the common setups at outdoor crags, how to construct an anchor of your own, and how to be safe while doing so.
What is a Sport Climbing Anchor?
Put very simply, an anchor is the point at which a pitch of climbing ends. At the gym, the climbing is over when you reach the top of the wall and clip the last two carabiners before yelling, “Take!” and being lowered to the ground. If you’re out at a sport crag, odds are that you will similarly be dealing mostly with single-pitch terrain. Therefore, at the end of a pitch, you will need to have an anchor station to secure your rope. Whether you are setting a toprope, rappelling or even topping out, an anchor is necessary to do so.

Sport climbing crags obviously come in many different shapes and sizes. Common practice will often change with the climbing region and the type of anchor building options you encounter at one crag in one area may be very different from another.
In Joshua Tree National Park, for example, the tops of the granite domes are replete with boulders and cracks that are perfect for anchor building. When the area was first being developed, climbers saw this and decided that bolted anchors were unnecessary. For this reason, fixed anchors are a rarity.
Elsewhere, though, a fixed two-bolt anchor is standard. This article will deal mostly with those. Still, it is not so simple as putting your rope through a couple of carabiners and yelling down “lower!”
Building Sport Climbing Anchors
Constructing an anchor at the end of your pitch can take many different forms. We’ll talk about those in a minute. First, every climber needs to ensure they have the tools necessary for securing themselves to the anchor, setting up a toprope, lowering and rappelling. The list below is basic, but should suffice for just about any situation you may come across.
- Personal attachment system, or PAS. This is what you will use to attach yourself to an anchor. Black Diamond and Metolius make trademark versions of these: smaller loops of webbing sewn together in a chain to allow for adjustability.
- ATC for rappelling. A small loop of nylon cord for a friction hitch is highly recommended.
- Double length sling (120 cm) or a cordallete tied in a loop.
- At least 4 locking carabiners.
- “Anchor draws,” or two designated quickdraws used for setting up a toprope. Personally, I like to have two locking carabiners as the attachment point to the anchor. The carabiners that the rope runs through don’t have to be locking.
Types of Sport Climbing Anchors
Typically, a sport climbing leader will encounter some version of a two-bolt fixed anchor at the end of a pitch. These bolts will usually have chains, quick-links, rappel rings or rams horns hanging from them to enlarge the hardware real estate.
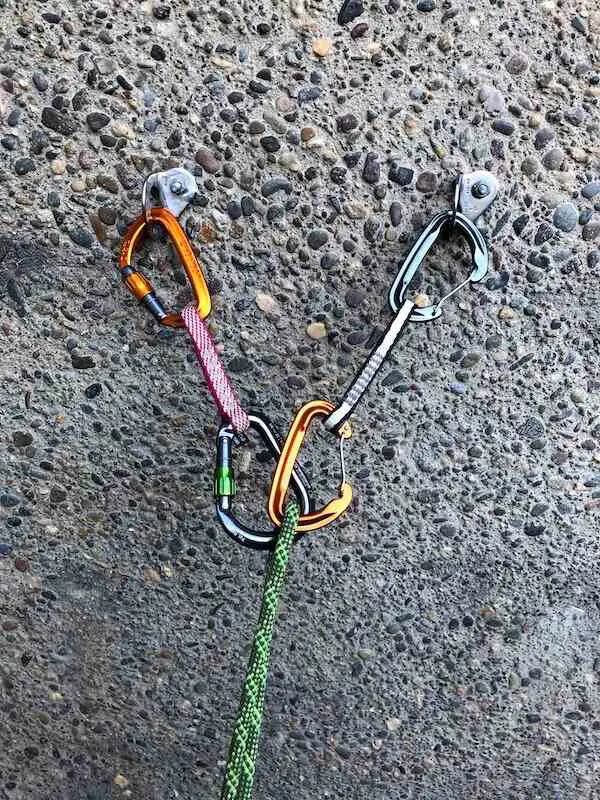
#1: Two Draws
The classic “two draw” method is one of the more popular ways of building an anchor. After reaching the top of the climb, the leader merely clips one quickdraw into each of the bolts and runs their rope through the bottom carabiners. Remember to use an opposite and opposed orientation for any two carabiners that the rope is running through.
#2: Sliding X
The Sliding X method has been more or less retired as one of the less safe ways of building an anchor. The reason for this is that it does not meet the “No Extension” criteria of a SERENE anchor. But in a pinch, especially on easier terrain, it will do.
Clipping a locking carabiner to each of the bolts, run a double length sling through them, making sure to lock the gates. Taking the section of webbing that runs between the two carabiners, pull it down so it meets with the bottom arch of the webbing. Twist the section in your hands, forming one loop. Clip a carabiner through this loop and trap the bottom arch of the webbing. Sliding X!
#3: Sliding X With Overhand
This is a nice method because it scores extra equalization points. Follow all the same steps as the one above, but – after determining the direction of pull – tie an overhand or a figure 8 with all strands of the sling. The resulting masterpoint is double equalized AND has no extension. Much more solid.
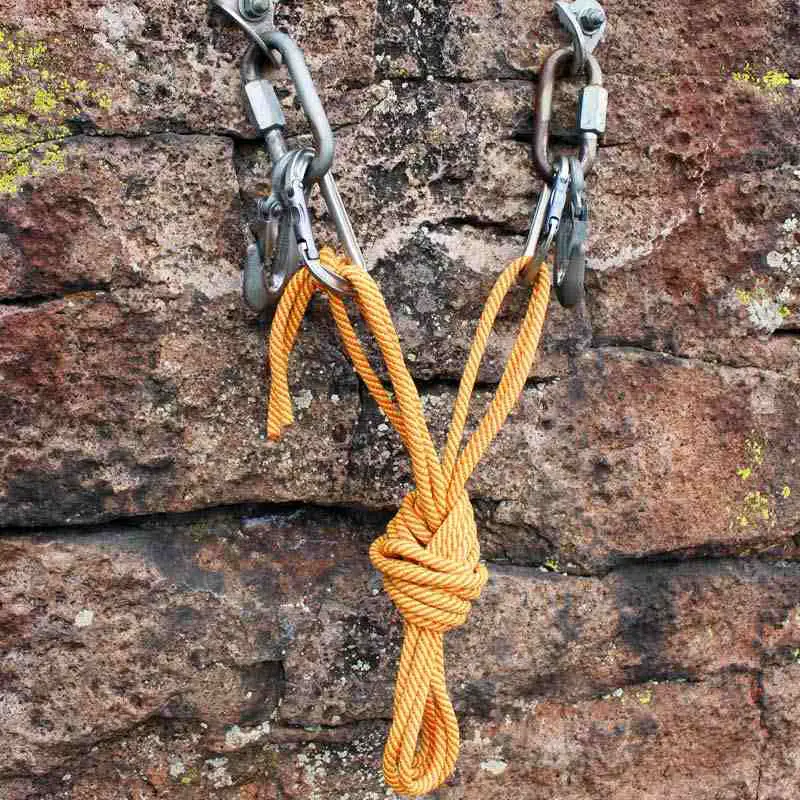
#4: Classic Overhand/Figure 8
Once you’ve reached the top of a climb, clip two locking carabiners into each bolt and thread a sling through them (lock ‘em!). Pulling the section adjoining the carabiners down, join them with the bottom arch. Determine the direction of pull and tie an overhand knot or a figure 8 with all the strands. Clip two opposite and opposed locking carabiners through these loops and run your rope through them.
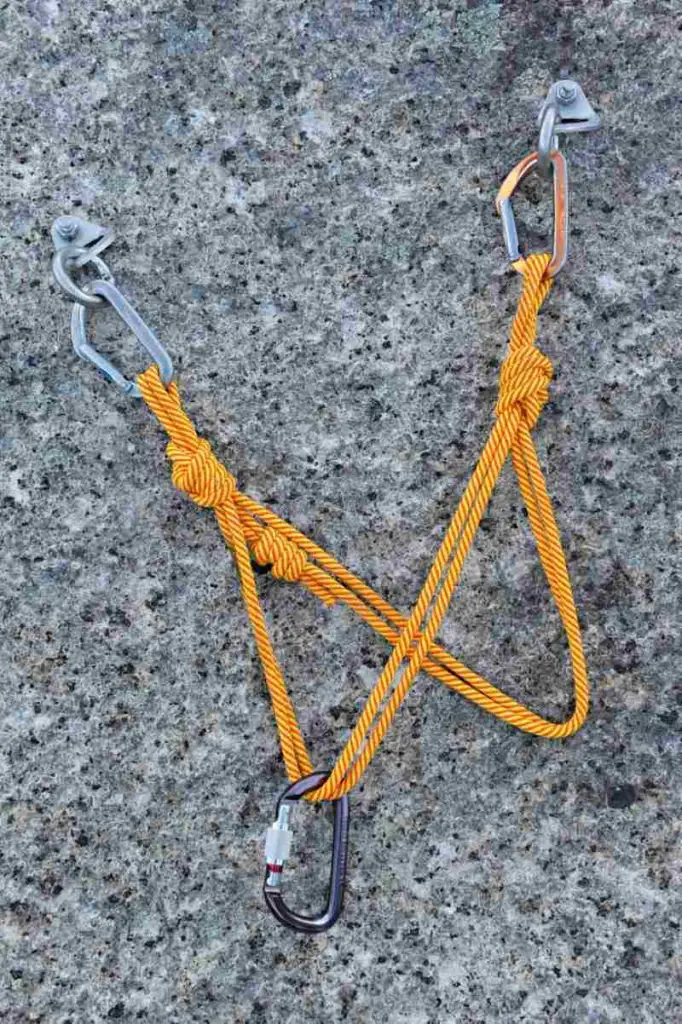
#5: Quad
Taking a long runner or cordallete, double it up so that you have a two-strand loop. Clip a locking carabiner to either side of this double strand loop. Holding the two carabiners together, allow the sling to hang and observe the resulting bight. On either side of the bottom arch, tie an overhand knot, trying to keep them at more or less at the same level. What you’re left with is four strands in between the pair of overhand knots.
Clip each carabiner to each of the two bolts on your anchor. Now, using ONLY three of the strands between the overhand knots, clip two locking carabiners, opposite and opposed, to them. Boom, masterpoint.
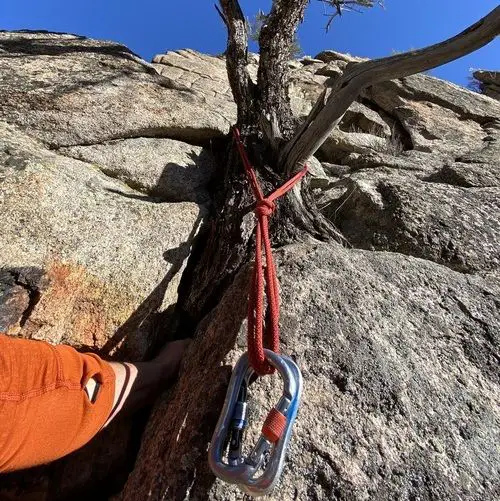
Trad Anchor, On a Sport Route?
Occasionally, especially in areas like Joshua Tree, even sport routes may require bringing along some trad gear to set up an anchor at the top. Refer to the article about Trad Anchor for some tips on how to go about this.
Preserve The Fixed Gear
Now, for a little ethics talk. Many crags these days will feature a typical two bolt anchor, but with a length of chain and what is called a mussy hook attached to each of them. These mussy hooks have a wire gate blocking the entrance and operate much the same as a carabiner, except they only ever have one orientation – baskets facing up.
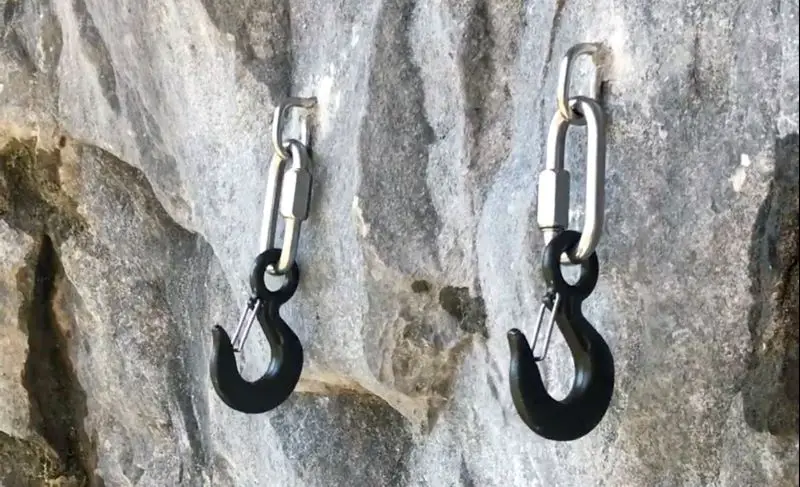
Many people will simply clip their climbing rope through these mussy hooks at the top of a pitch and have their partner lower them. This means that, during any toproping the party does, the rope runs through the mussy hooks. While hardware like this IS cheap, practices like these are damaging to the metal and require that they be replaced often. When you can, bring a rappel device and rappel from the top of a climb instead of having your partner lower you.
Use Your Own Gear!
When setting up a climb to be toproped, ALWAYS use your own gear. Too much wear on fixed hardware may be dangerous. Access Fund and other local climbing organizations make huge efforts and use a lot of resources to go out to replace fixed hardware. Still, they can’t be everywhere. Even if you donate annually, don’t take that as an invitation to trash the hardware.
To Clip the Rap Rings or Not To Clip?
Let’s end with a fiery question. One topic that leaves the rock climbing community divided is whether or not you should clip the rap rings or not. Some people are of the opinion you should only clip into the hangers or the chain. Others say it’s fine to clip into the rap rings.
I personally am of the opinion that you should NEVER clip the rap rings. However, other members here at the Hard Climb team almost always clip into the rap rings.
What do you think is correct practice? Let us know in the comments below!
